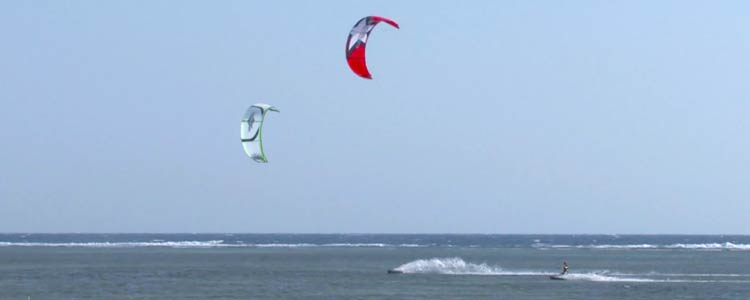
So you were out for a nice walk one Sunday afternoon, strolling along the beach, you see some multi-colored blimps racing through the sky. Then you see one rocket up into the clouds – is that a person attached to the end of it?!!! You get closer and see they are big kites with crazy people with snowboards strapped to the feet. What is this sport? And how do you fly like that?
Then you take lessons and feel like a bit of idiot as you get dragged around, eventually wobbling along on your board and you’re thinking “they made it looks so easy, I just want to do that jumping business!”.
Well, rest assured you’ll get there and in this post we’ll try and give you a clearer idea of the easiest, fastest route to getting the skills needed to take you from the end of your kiteboarding lessons to launching into your first jumps.
Take Control
As you have no doubt been told, improving your kite handling skills will have the biggest impact on your overall kiteboarding progression. Jumping is no different, and having an awareness of your kite from the launch, whilst mid-air and then when landing, will be crucial. But jumping, and particularly jumping cleanly with good height, will require excellent board skills (maintaining an edge as you load up power through the kite, and hold it until just the right moment).
To ultimately get airborne, this series of progressions are essential training to get you confident and in tune with your kite and board. They are steps to take so you can launch into a jump, have a fair chance of getting more than a few inches out of the water, and actually land without crashing.
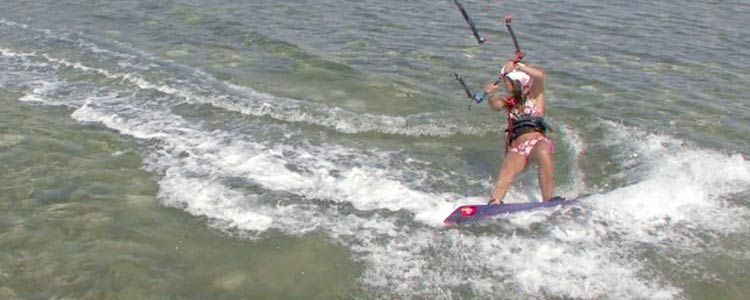
Waterstarts and First Runs
It goes without saying that you need to be able to waterstart reliably if you’re gonna start jumping! After finishing your kiteboarding lessons, you may still be working on this. A good tip to speed up this progression is to a find a kite buddy, someone else who is also learning to waterstart, and then share a board and kite. Take turns doing several waterstarts and short runs – you may think you’ll get less time to practice but the added confidence of having someone to help in the shallows and catch your kite if it all goes wrong is a big win. You’ll also find you can learn a lot from having to watch your buddy with their attempts.
Related post: How to Master Your First Runs on a Kiteboard
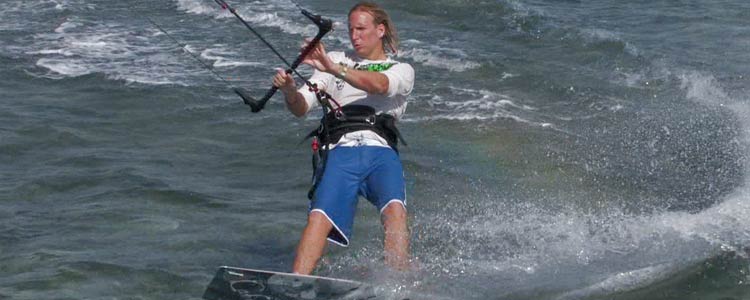
Riding Upwind
Jumping means you’re gonna start flying downwind, so you better master cruising back upwind or you’re still gonna be spending a lot of time walking!
Jumping also requires you to control a far greater amount of power, transferring it from the kite to the board, and a bad riding stance, is one of the most common culprits for lack luster jumps, where a poor take off is made inevitable.
Related post: Shoulders Back! The First Step Towards Going Upwind in Kitesurfing
Even once your stance and kite flying start coming together, you may still find you’re not getting upwind. Are you wasting precious time drift downwind when you change direction? If you’re not staying dry during your sliding turns then get some practice in. As a smooth turn with power in your kite throughout will ensure you lose little or no ground downwind.
Related post: Understanding Your Kite During Your First Twintip Transitions
So you can ride upwind comfortably, the kite and board feel nicely in control – surely we can start jumping? Well you can, and feel free to jump ahead, but if you want to give yourself the best opportunity to do it well with some height, style and control then it’s highly recommended to give the next two techniques a go…
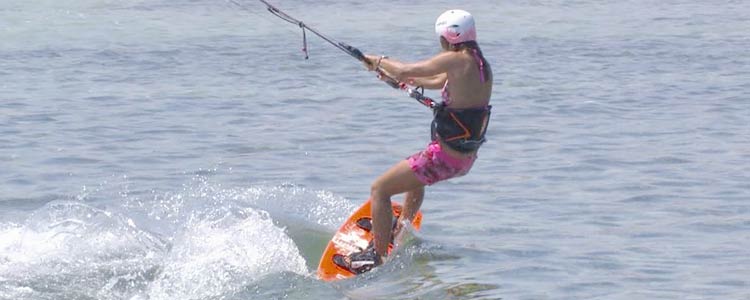
Riding Toeside
Many kiting newbies can’t understand the point of riding toeside, it looks awkward and at first seems to offer no use, but you couldn’t be more wrong.
You’ll find yourself in the toeside position repeated throughout your time as a kiteboarder and with jumping, a lot can happen and being able to land toeside is very handy. But more than this it will force you to ride in a stance that is very different to your normal heelside edging, and the board control you learn is invaluable.

Also, putting all that aside, riding toeside is a lot of fun, in many ways its the first “trick” you can learn after getting the basics of kiteboarding under your belt. And it doesn’t require anything too radical, so you can push yourself without worrying about any big crashes!
Related post: Riding Toeside, Why would you want to do that?
Carving Turns
Carving turns are a perfect way to build a better understanding of the control between power and lift in your kite and how it relates to maintain board speed, when you not riding along in a straight line. These skills will again help massively with jumping but here you aren’t leaving the water so you remove that element of uncertainty. As you get more comfortable with the timing between board and kite, try faster, more aggressive movements of the kite.
Related post: Oh what a feeling – Carving Turns aplenty!
Jumping
Thanks for being patient and working on your skills but now the fun can really begin!
Learning to jump will open up the gateway to so many new tricks and experiences but as you can imagine, once you leave the water you are opening yourself up to some new and interesting way in which you can crash!

So don’t rush in and start throwing your kite around, hoping to boost a massive jump on your first attempts, it’s very easy to get some bad habits early on which will hold you back later. Get the basics, with smaller more controlled kite movements, understand the feeling of being free from the water and build from there. Though, this is not to say to be timid – jumping always requires bold and committed movements of your kite and board but there is bold, and there is overzealous ;-)
Your first jump will feel like you are soaring through the sky, looking down on trees as you count the seconds you are airborne. In reality, you probably got no more than a foot out of the water, were airborne for less than a second and let’s not get started on your style or grace! But we all started there and a small jump with a clean landing is just what you need to work your way up to one of the greatest aspects of kiteboarding. Something that no matter how good you get, you just can’t beat – a big booster!
Related post: The Art of Jumping
Kiteloop point of viewThis is how a kiteloop looks from up there. The feeling you get from it just never gets boring! Can’t wait for the wind to pick up again.
Posted by Kevin Langeree on Thursday, January 15, 2015
Take a downwinder
When you’re learning to jump you are gonna spend a lot of time riding back upwind. You’ll crash a lot, lose your board, maybe even drop your kite and have to relaunch. All this sending you downwind, so anything you can do to allow you to focus more on the jump part of your session is gonna help massively. So a downwinder is a great option and for those of you who have recently learn to stay upwind and actually find it hard to go downwind, throwing in some jumps will make getting downwind a hell of a lot easier!
 We hope this make it’s a little easier to see the best steps to take you from a beginner to a booster. And it will be no surprise that this is exactly why we organise the end of our Beginner collection to cover waterstarts and first runs, then riding and staying upwind and finally sliding turns. Then our Intermediate volume 1 Collection has some of the most detailed instruction for your first tricks – riding toeside, carving turns and then jumping. Sound familiar? The jumping video is one of our your popular premium videos and covers not only the basic small jumps but then a second progression on moving on to bigger jumps, and with the full collection you also get popping (getting air without sending your kite up). All these videos and collections are available throughout Progression Player App or on the equivalent DVDs.