Whether you are trying to ride waves or practice your carving turns on flatter water, when it comes to your board and legs there are three simple but essential key elements. They will affect your ability to control power and maintain speed through any turn, so read on to work towards your perfect carve.
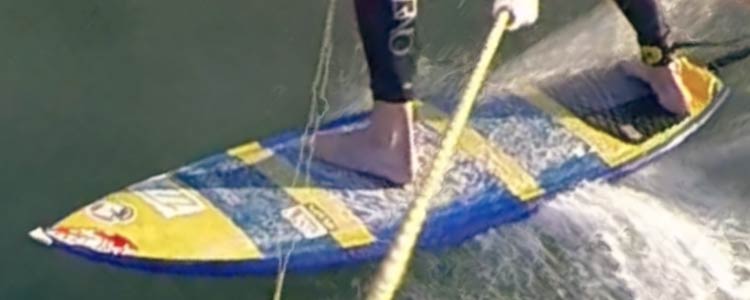
1. Back Foot Back
This one is the simplest but still people forget or do it half-heartedly. Your back foot needs to be right at the back of the board, jammed up against the back of the tail pad. Get into the habit every time you do a carving turn, whether it’s at the foot of a wave or underpowered on flat water. It needs to become so rooted in your subconscious that you never think to do anything else. Having said this, a time will come when positioning your back foot further forward may allow you to perform different styles of top turns but until you have the basics down, stick with it being right at the back.
And why is so important? Two reasons: first it gives you a wider stance and having your feet wider apart is, of course, more stable. Secondly, and the most important, is that by having your foot this far back you can control the back of the board with far less foot pressure which helps with tip number 2…
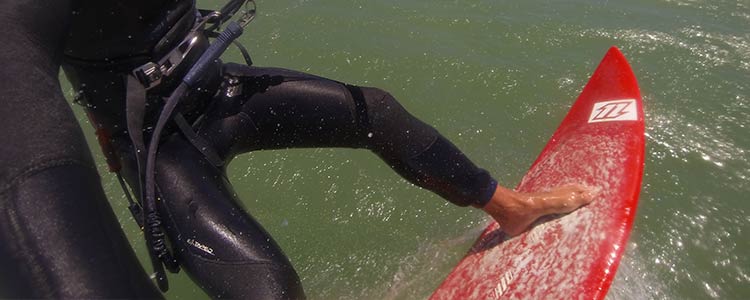
2. Weight on Your Front Foot
It is amazing how much weight you need to have over your front foot at various points during any turn on a surfboard. A surfboard’s design simply demands it! It’s what allows it to accelerate and maintain speed but for kitesurfers who have ridden twintips for years, our muscle memory commands us to stamp on that back foot and use our kite to save us when we lose speed. This can kind of work on a surfboard but with a wave in play that is continually moving away from us, it is easy to get left behind.
Though incorrect kite position can often be the biggest hindrance to people riding waves, once you have the general movements in place, it is then front foot pressure that you should be thinking about whenever you make a mistake. I know that it’s the area I look at first when I screw up any top turn and more often than not it’s the culprit.
Simply keep it this in mind and continue to experiment with your weight distribution between your feet and then what will help? Tip number 3…
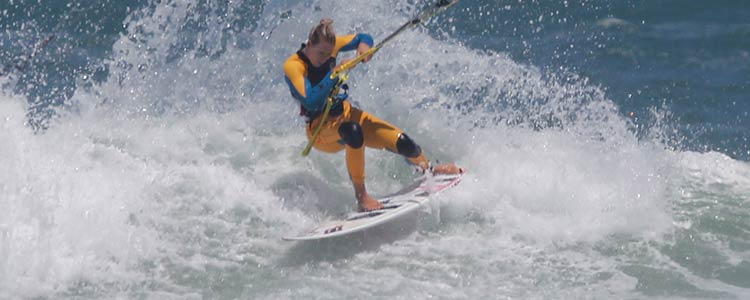
3. Bend Your Legs
There is a reason why most pro surfers are short arses. When surfing a lower center of gravity is a big advantage, so straight away you can see one of the reasons we need to keep our knees soft and bending our legs through most carves.
This allows you to subtly shift your weight between your feet. With straighter legs, the transfer of weight is more cumbersome whereas with bent legs you can shift your weight more gradually.
This also applies to weight changes between your heels and toes.
But one thing that bent legs requires more of – strength. You’ll need your legs to be strong, as this more crouched position requires your muscles to be engaged the whole time. So get those legs in shape and your surfboard riding will improve massively.
Examples of Bottom and Top Turns
Now watch these two technique definition videos and try and spot all the points where these three elements are used: